5 years ago we cut down some trees for boards for fencing, to make a bed for a hay wagon, and so on. We just cut down “junk” trees, trees that for one reason or another would never make a log that we could sell to a timber buyer.
One of those trees was a maple standing in a swamp. When our sawyer, Dave Scheiber, cut into it the wood was spalted.
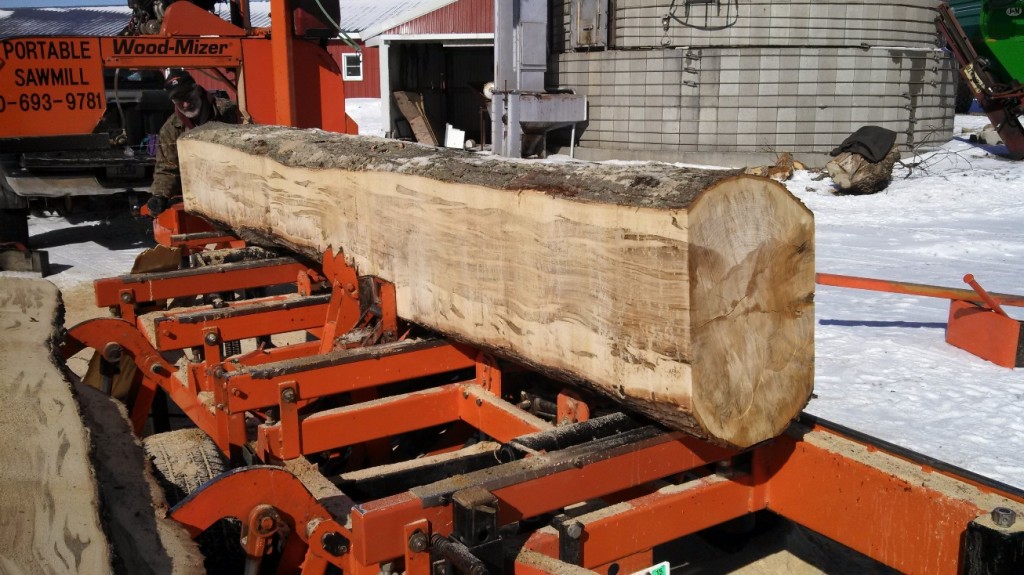
Spalting is when fungi colonize inside a tree and in this case created the “flames” in the wood. When I saw that I asked Dave to cut some 2″ thick slabs for me and leave the natural bark edge on. I thought that I’d try to make a table from it. (Click here for my original post about sawing these logs.)
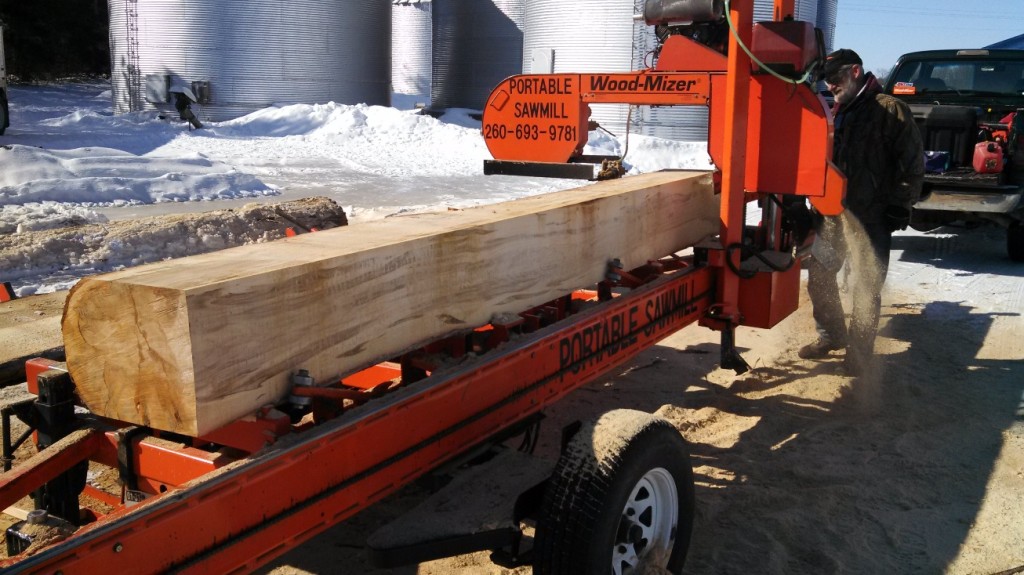
Dave’s sawmill wasn’t wide enough to cut a slab from side to side in one piece, and I didn’t have woodworking tools to handle that either. So we cut slabs that were natural on one edge and straight on the other. Putting straight edge to straight edge is like opening a book.
5 years went by. I had the slabs stacked in our garage. I walked around them, moved them several times, and stacked things on top of them. Finally this winter I decided if I was ever going to do anything with them, it was time.
Even cut in half the boards were too wide for my planer, plus they had split and warped. They were 18 inches wide more or less, and to get them flat across that width I would’ve had to plane a lot of the thickness off.
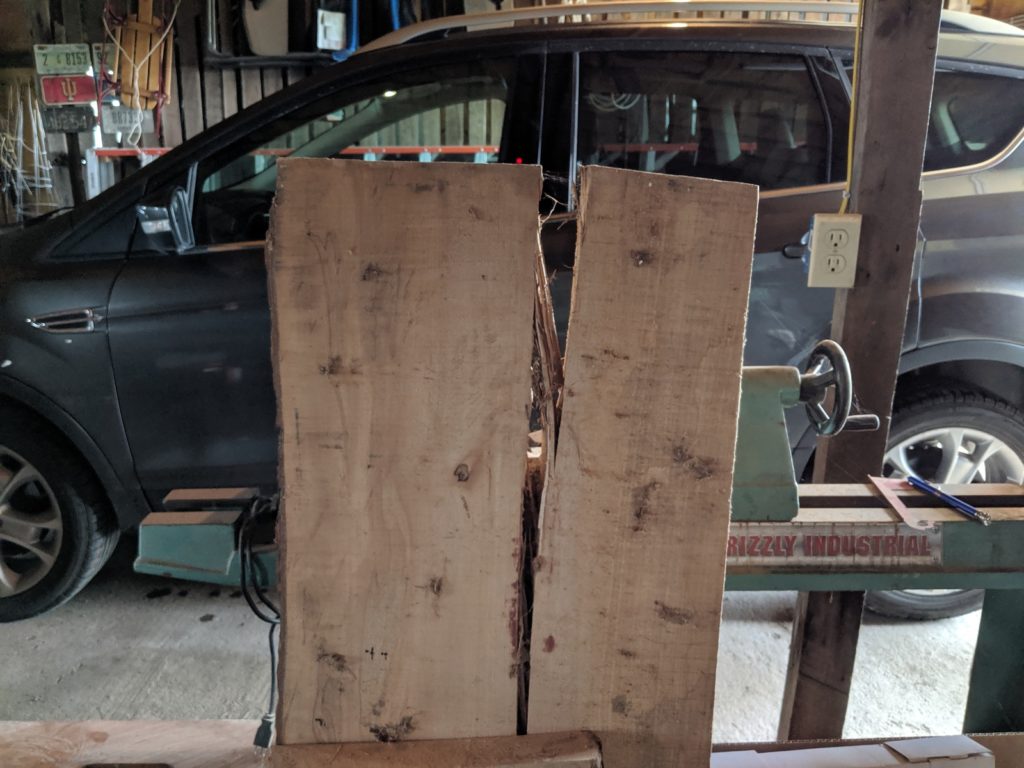
I ripped the slabs down into boards between 5 and 8 inches wide, depending on where the splits were. I ended up with 5 slabs, 2 with natural edges for the outside edges.
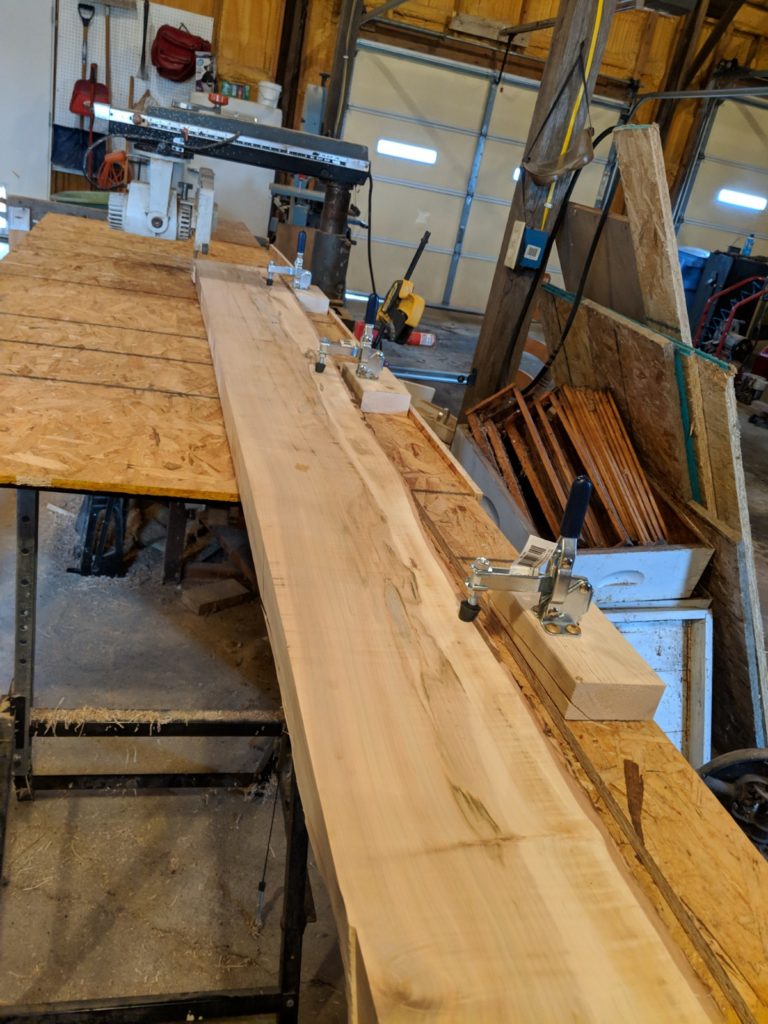
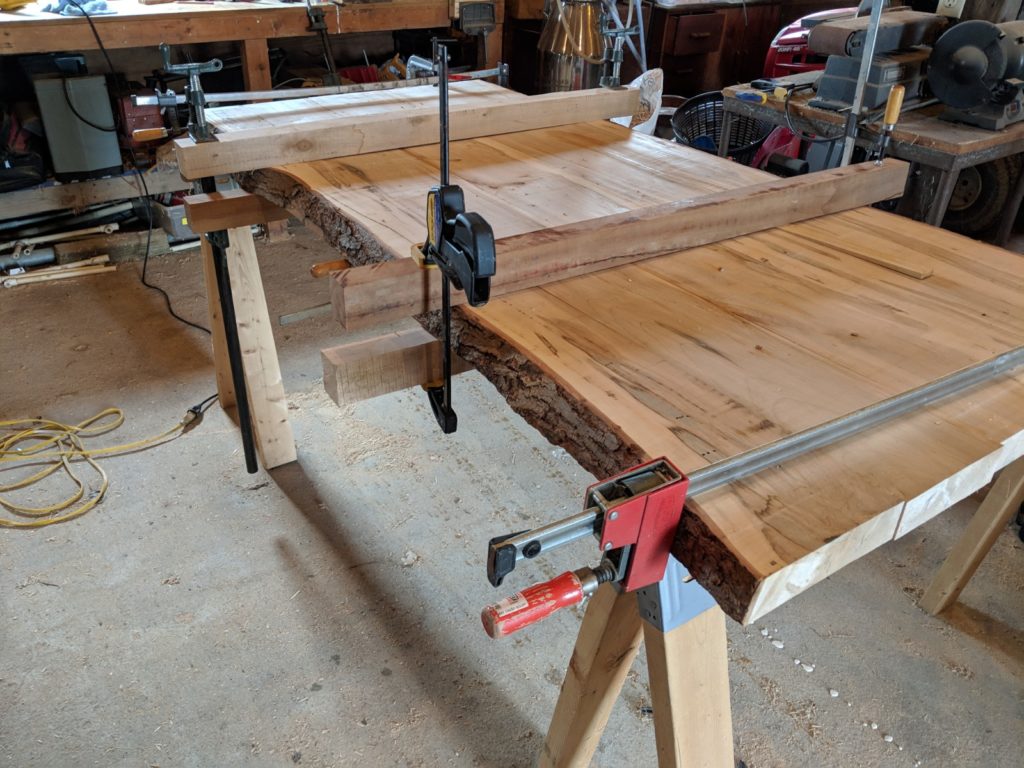
Now that I had my boards I needed to get the edges straight so I could glue them together. For the natural edge boards I didn’t have a straight edge to start with, so I made a jig using surface clamps to hold the board and ran it through my radial arm saw to get a relatively straight edge.
That worked pretty good.
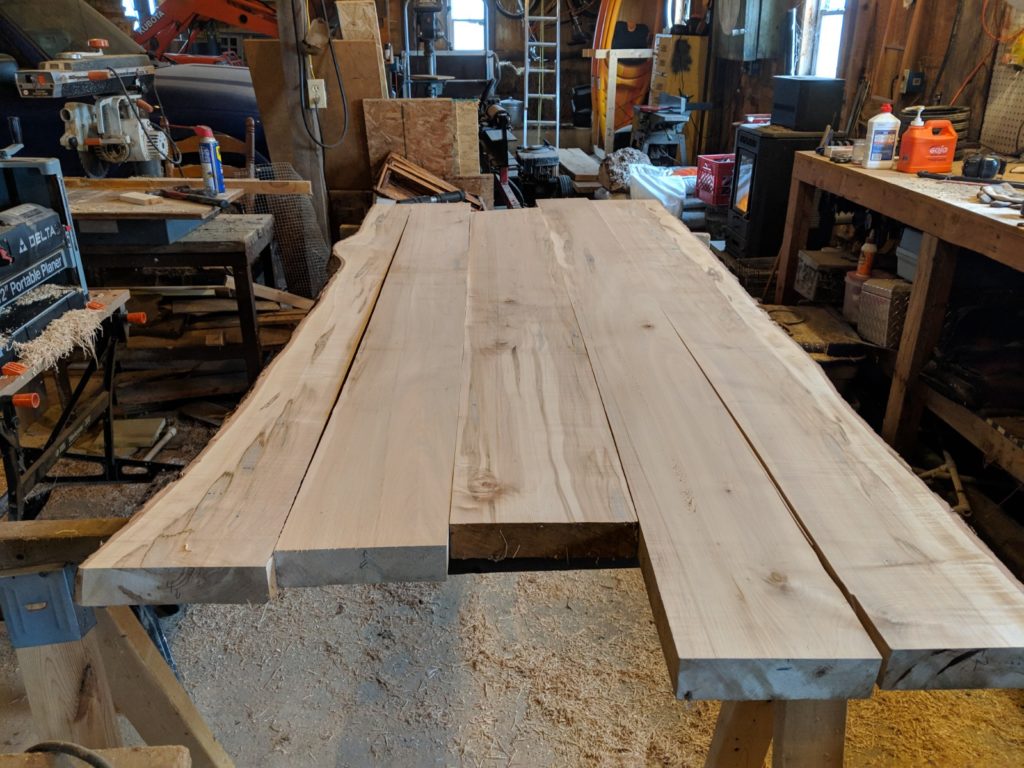
I ended up cutting another slab for the middle board from what’s pictured above. It’s a little hard to tell from this picture, but that middle board was twisted end to end, and while I could flatten it when I clamped them all together, it would leave a slight gap between its neighbors since its edges were no longer square to them.
While these boards were almost straight, my “relatively straight” ripped edges weren’t good enough to make a good strong glue joint. I got a 2″ edge trim bit for my router and used an 8 foot aluminum straightedge to get the edges straight enough to glue.
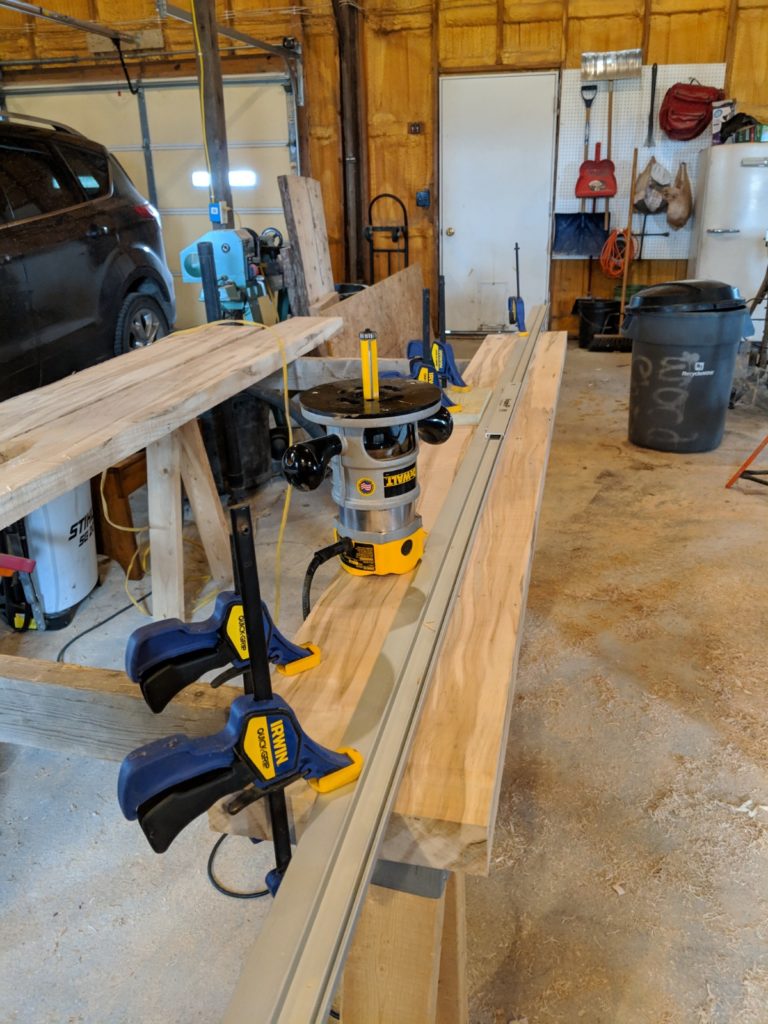
That worked really slick. It was essentially like a jointer with a 12 foot bed and gave me boards that were flat on the edge from end to end.
It’s looking good! Up until now I’d been despairing and ready to turn the whole mess into kindling. I started gluing the boards together, one joint at a time.
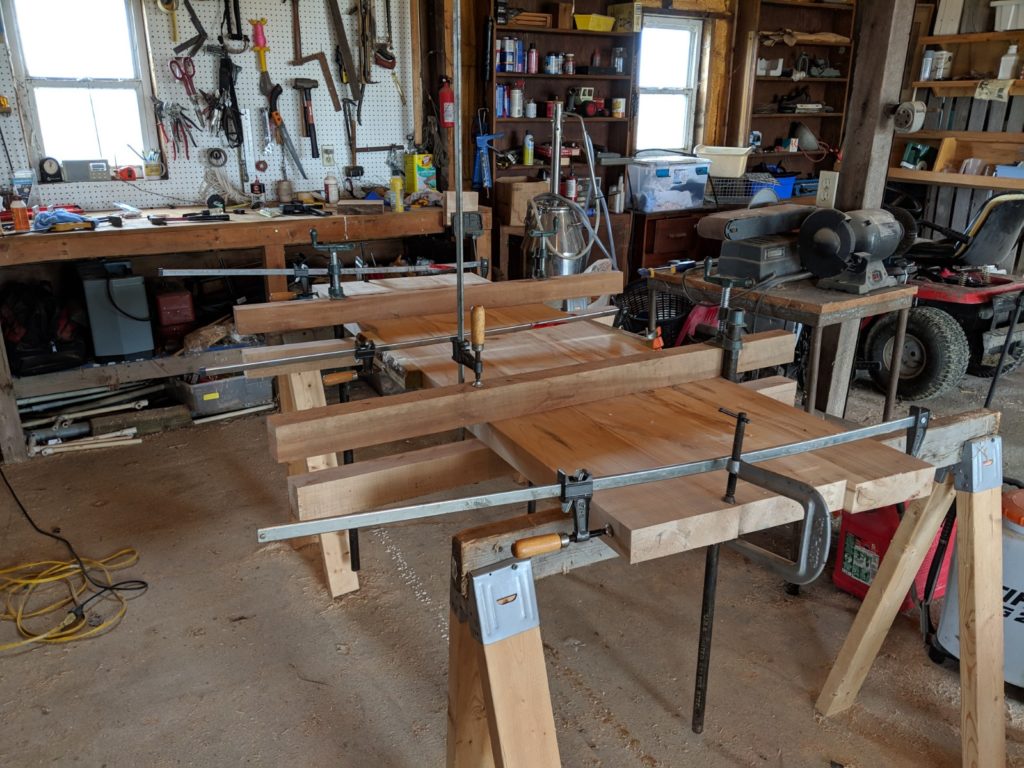
I’ve got bar clamps pulling it together, c clamps on the edges holding them flat and caul blocks in the middles keep it flat there too. Repeat that for every joint and finally…
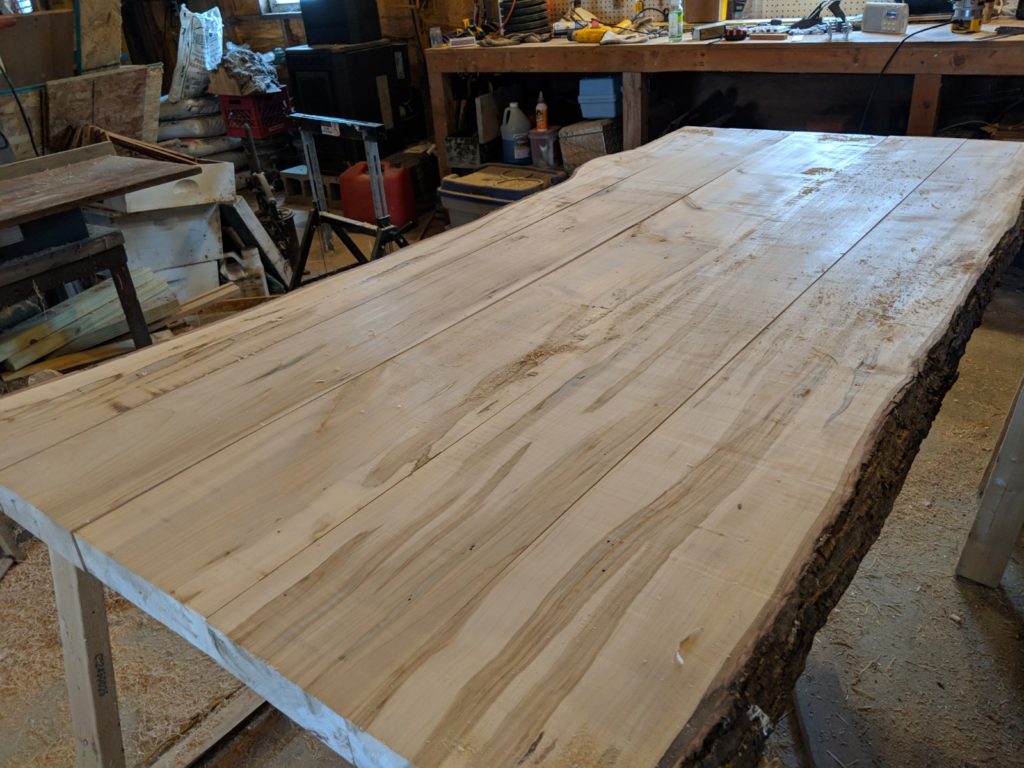
Now that it’s glued together I trimmed the ends. The lower right edge in this picture is money side with that knob sticking out.
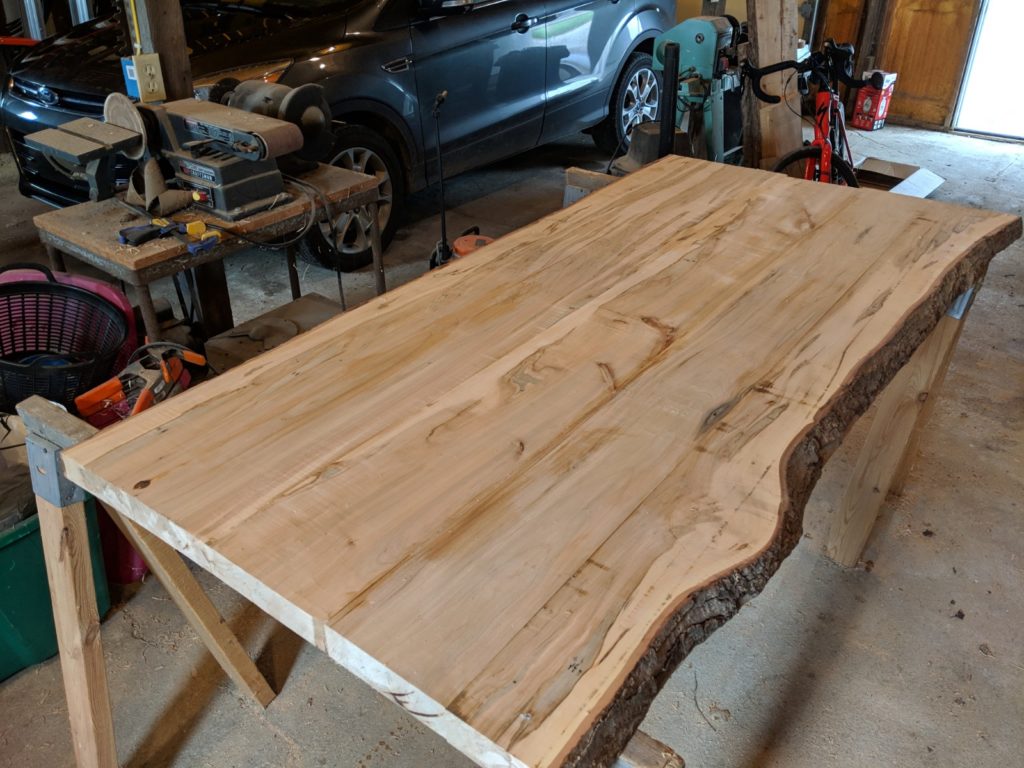
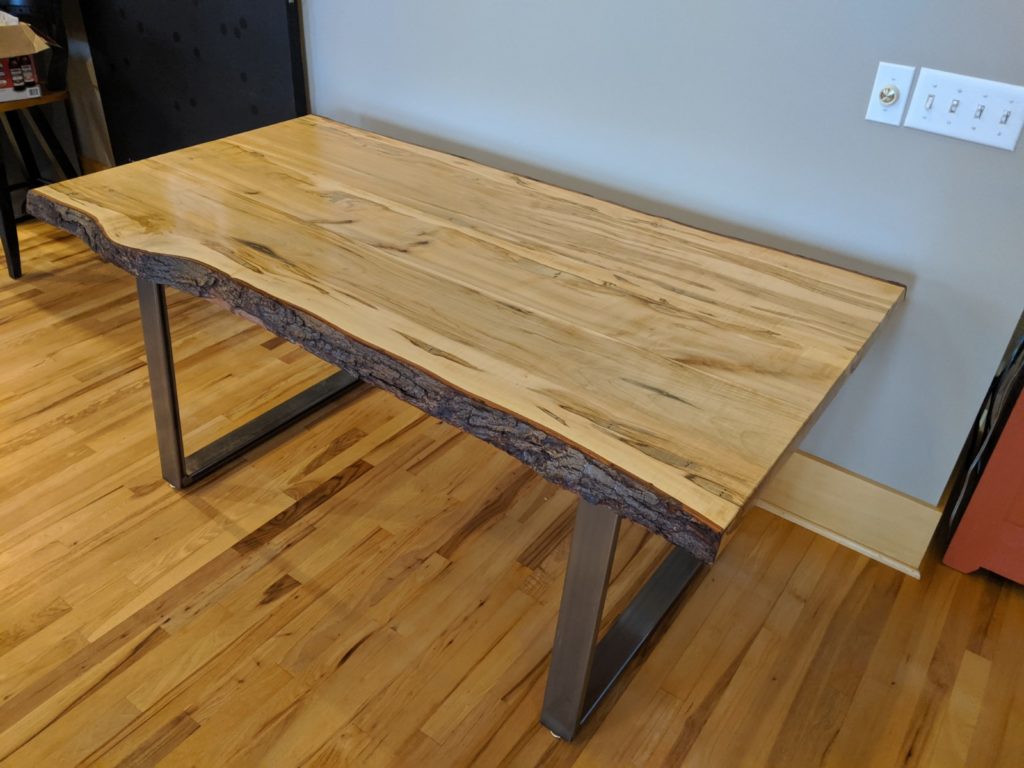
Then I sanded and sanded and sanded, starting with an 80 grit in the belt sander and finishing with 200 grit by hand. After that I applied 10 coats of wipe on polyurethane (sanding between each one) and it looks like this.
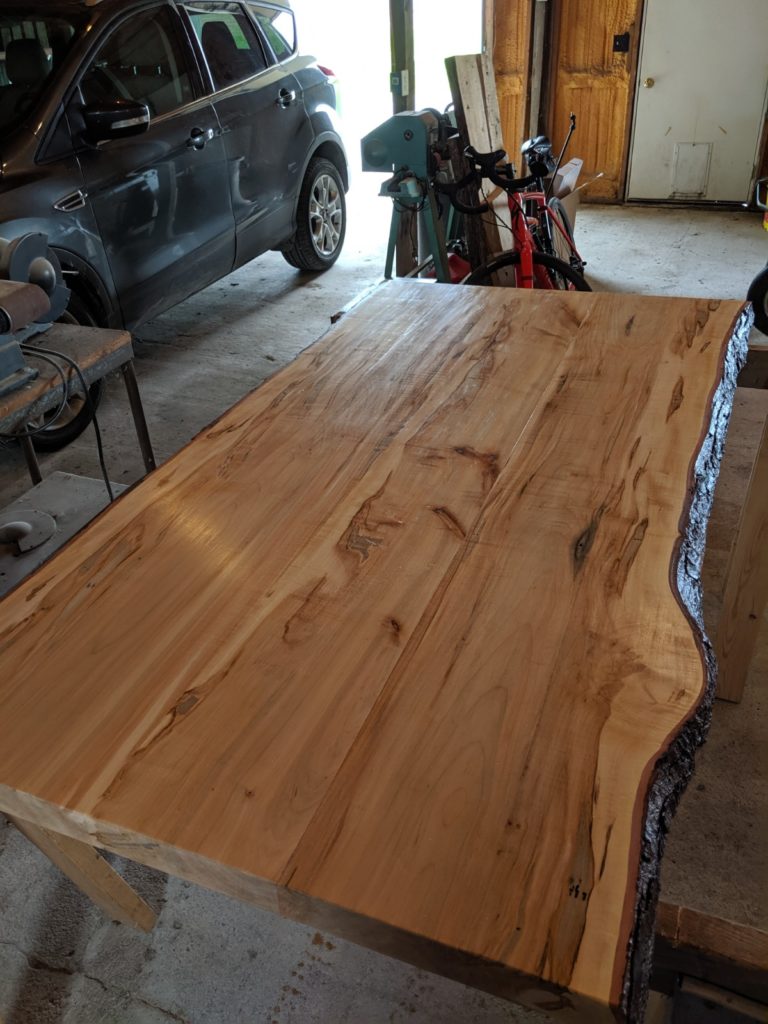
Ready to put the legs on now.

At this point you may be wondering how I flipped that table top over to put the legs on it since it’s long, wide, and heavy. The answer of course is, “Debbie, sweetie pie, can you come down to the shop and help me?”
I ordered these legs from steeltablelegs.com. Who knew there were people out there who specialize in making, well, steel table legs? They were very helpful, I emailed them about how wide my table legs should be, how far I should set them in from the ends and so on. They replied to my every query quickly and helpfully.
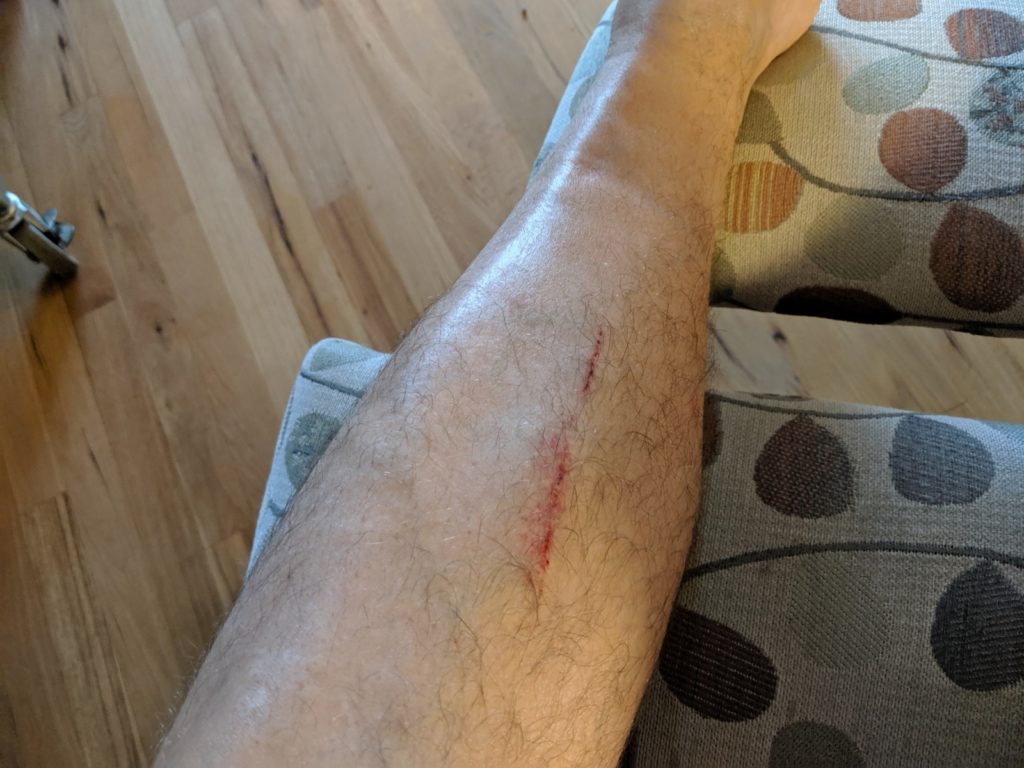
Once specified and ordered, the legs were easy to put on (although note to self, the next time you do this and one of the legs starts to fall, don’t stick your leg out to catch it).
The legs are attached, the table’s done. But I still had to get the table up to the house. With the legs on it, it is one heavy beast.
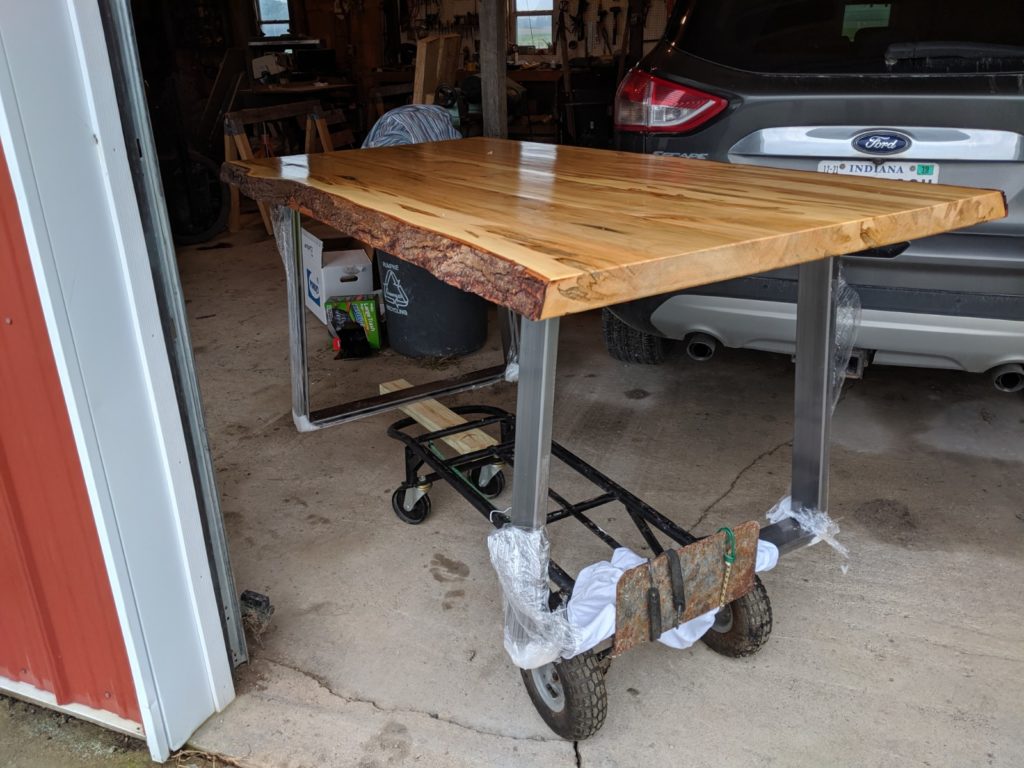
This is my soon to be patented table transport tool (TTT). Debbie and I turned the table on its side to get through the front door, and just like that, this 5 year project was done.
I’ve never done anything I’ve been satisfied with, whether it’s a crop, a software module, a stained glass window, or a woodworking project.
But this is pretty good.
Leave a Reply